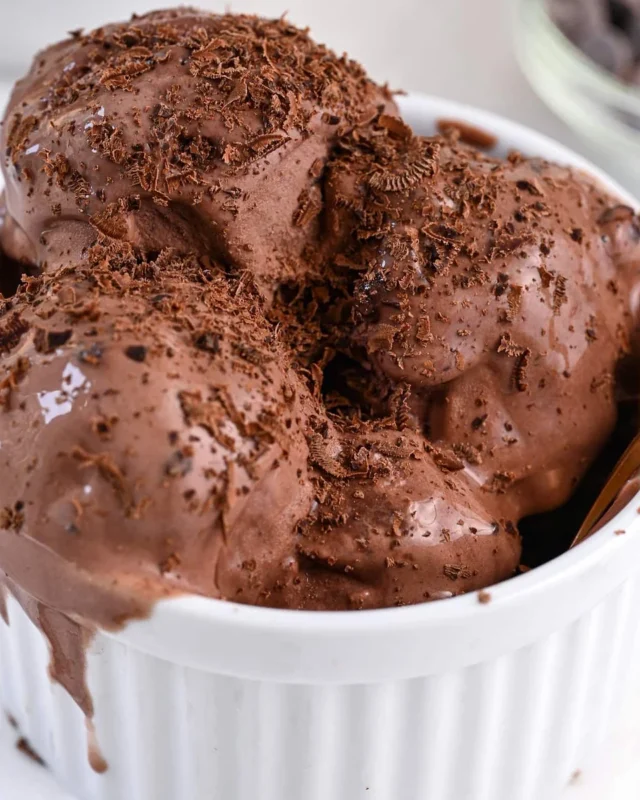
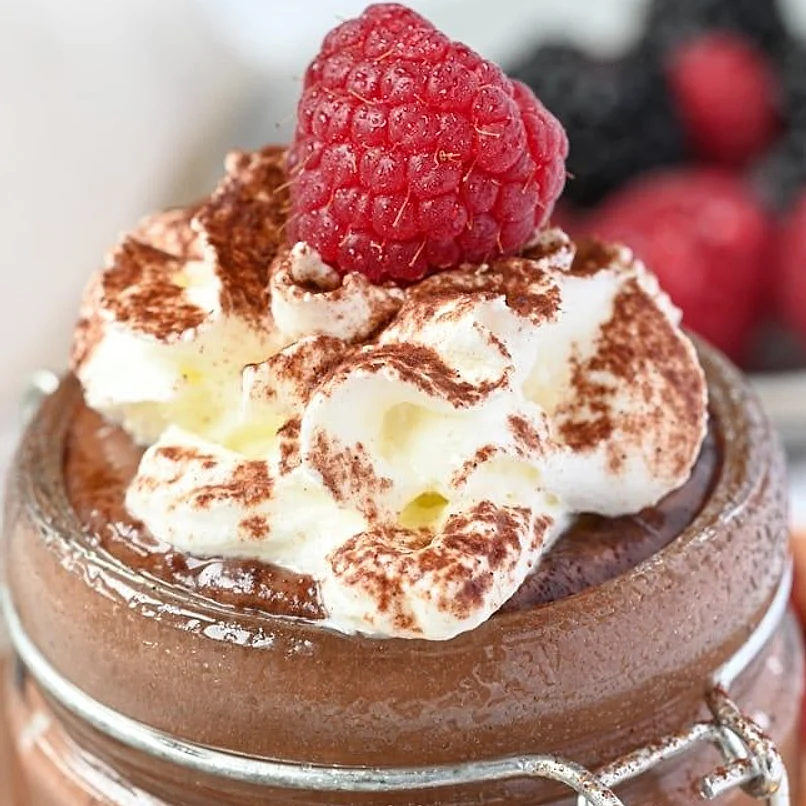
This cottage cheese chocolate mousse is smooth, rich and deeply chocolatey. It comes together in a blender with just three ingredients.
Cottage cheese turns silky when blended, so it works as a creamy base with no cream or eggs needed. The cocoa gives it a bold, dark chocolate flavor.
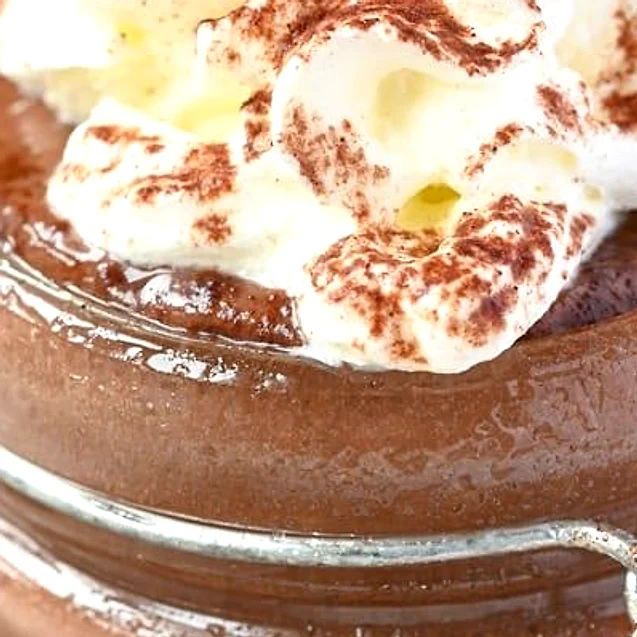
It is light enough for an afternoon snack yet satisfying enough to replace dessert after dinner.
Why you’ll love this recipe
This is my go-to when I want chocolate without the sugar crash. It takes five minutes, uses one blender, and tastes like a proper pudding. Once you try it, you will likely keep a tub of cottage cheese in the fridge for it.
Ingredients
Full quantities are in the recipe card below.
- Cottage cheese: provides the creamy, protein-rich base. Use 4% or full fat for the smoothest texture. Substitute with strained Greek yogurt for a tangier result.
- Unsweetened cocoa powder: gives deep chocolate flavor without added sugar. Substitute with dark cocoa powder for a richer, less bitter taste.
- Maple syrup: sweetens the mousse and balances the cocoa. Substitute with liquid monk fruit sweetener or a few drops of stevia for a sugar-free option.
How to make cottage cheese chocolate mousse
Step 1: Add the cottage cheese to the blender
Start with the cottage cheese in a blender or food processor. Cold cheese blends well, so there is no need to warm it.
Step 2: Add the cocoa and sweetener
Add the cocoa powder and one tablespoon of maple syrup. Adding the cocoa before blending keeps it from clumping at the bottom of the jar.
Step 3: Blend until completely smooth
Blend for 60 to 90 seconds, scraping down the sides once. Cottage cheese curds need time to break down fully, which is what gives the mousse its silky texture.
Step 4: Taste and adjust the sweetness
Taste the mousse and add more maple syrup, one tablespoon at a time, until it suits you. Blend again briefly after each addition.
Step 5: Chill before serving
Spoon the mousse into two small glasses and refrigerate for at least 20 minutes. Chilling firms the texture and lets the chocolate flavor develop.
Tips
- Use full fat or 4% cottage cheese: low fat versions can taste watery and grainy after blending.
- Blend longer than you think: a full minute ensures no lumps remain, which is key to a mousse-like texture.
- Sift the cocoa: sifting removes small lumps and gives a smoother, more even chocolate flavor.
- Start with less sweetener: cottage cheese and cocoa vary, so it is easy to add more but hard to take it back.
- Add a pinch of salt: a small pinch sharpens the chocolate flavor and reduces the dairy taste.
- Use a strong blender: a powerful blender produces a noticeably smoother mousse than a weak one.
- Add vanilla if you like: a few drops of vanilla extract round out the chocolate nicely.
How to store cottage cheese chocolate mousse
Store the mousse in an airtight container or covered glasses in the refrigerator. It keeps well for up to three days, though the texture is best in the first 24 hours.
Give it a quick stir before serving if it has settled. A small splash of milk can loosen it slightly if it has thickened too much.
We do not recommend freezing it, as the cottage cheese can turn grainy once thawed.
Variations
Peanut butter chocolate mousse
Add one tablespoon of natural peanut butter before blending for a nutty, rich version that pairs well with the cocoa.
Mint chocolate mousse
Add a few drops of peppermint extract and a light sprinkle of chopped dark chocolate on top for a refreshing twist.
Frequently Asked Questions
Can I make cottage cheese chocolate mousse without a blender?
A food processor works well. You can also mash the cottage cheese by hand and whisk vigorously, though the texture will be slightly less smooth.
Is cottage cheese chocolate mousse keto-friendly?
Yes, when made with unsweetened cocoa and a keto-friendly sweetener. Check the carb count of your cottage cheese and sweetener to calculate your totals.
Why does my mousse taste grainy?
Grainy texture usually means the curds were not blended long enough or the cottage cheese was low fat. Blend for longer and use 4% or full fat cheese.
Can I use Greek yogurt instead of cottage cheese?
Yes, strained Greek yogurt works well and gives a tangier flavor. Use the same amount and adjust the sweetener to taste.
How much protein is in this mousse?
One cup of cottage cheese provides roughly 25 grams of protein, so the whole recipe makes a high-protein snack or dessert.
 Recipe byDiana Collins
Cottage Cheese Chocolate Mousse
Ingredients
- 1 cup (220 g) cottage cheese (4% fat or full fat recommended)
- 2 tbsp cocoa powder (unsweetened)
- 1 to 3 tbsp maple syrup (or preferred sweetener, to taste)
Instructions
- Add the cottage cheese to a blender or food processor.
- Add the cocoa powder and 1 tablespoon of maple syrup.
- Blend for 60 to 90 seconds, scraping down the sides once, until completely smooth.
- Taste and add more maple syrup, 1 tablespoon at a time, blending briefly after each addition, until sweet enough.
- Spoon into two small glasses and refrigerate for at least 20 minutes before serving.
Notes
- Full fat or 4% cottage cheese gives the smoothest texture.
- Store in the refrigerator for up to 3 days.
- Add a pinch of salt or a few drops of vanilla extract for extra depth of flavor.