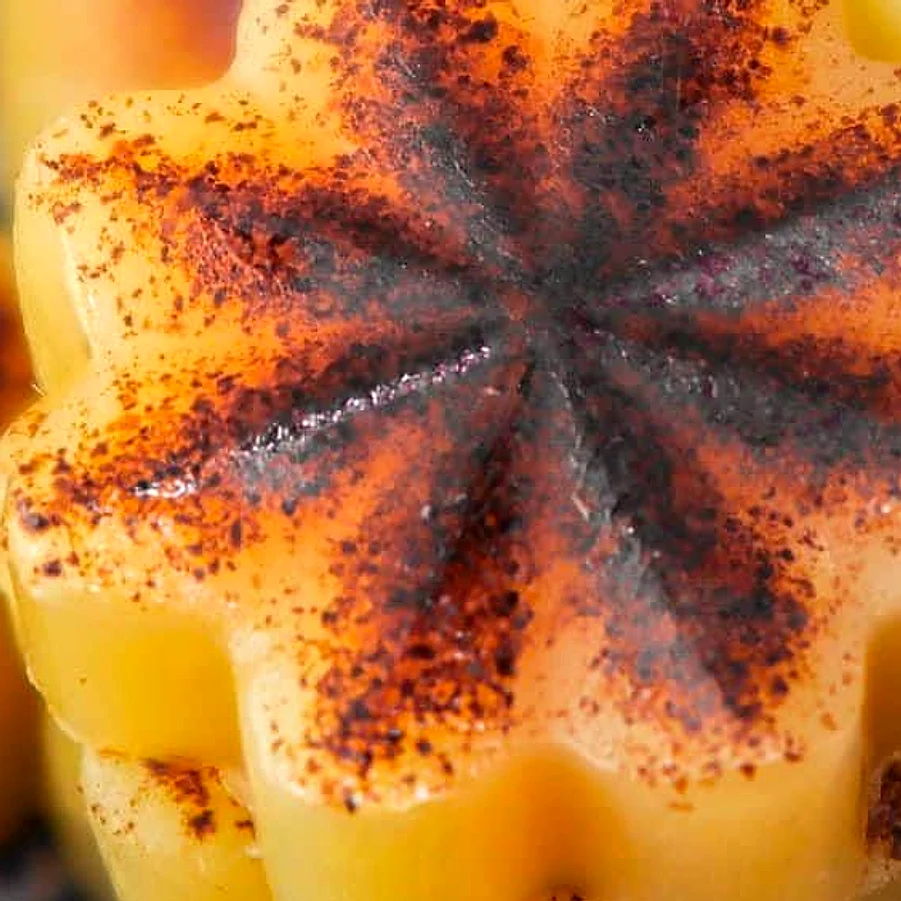
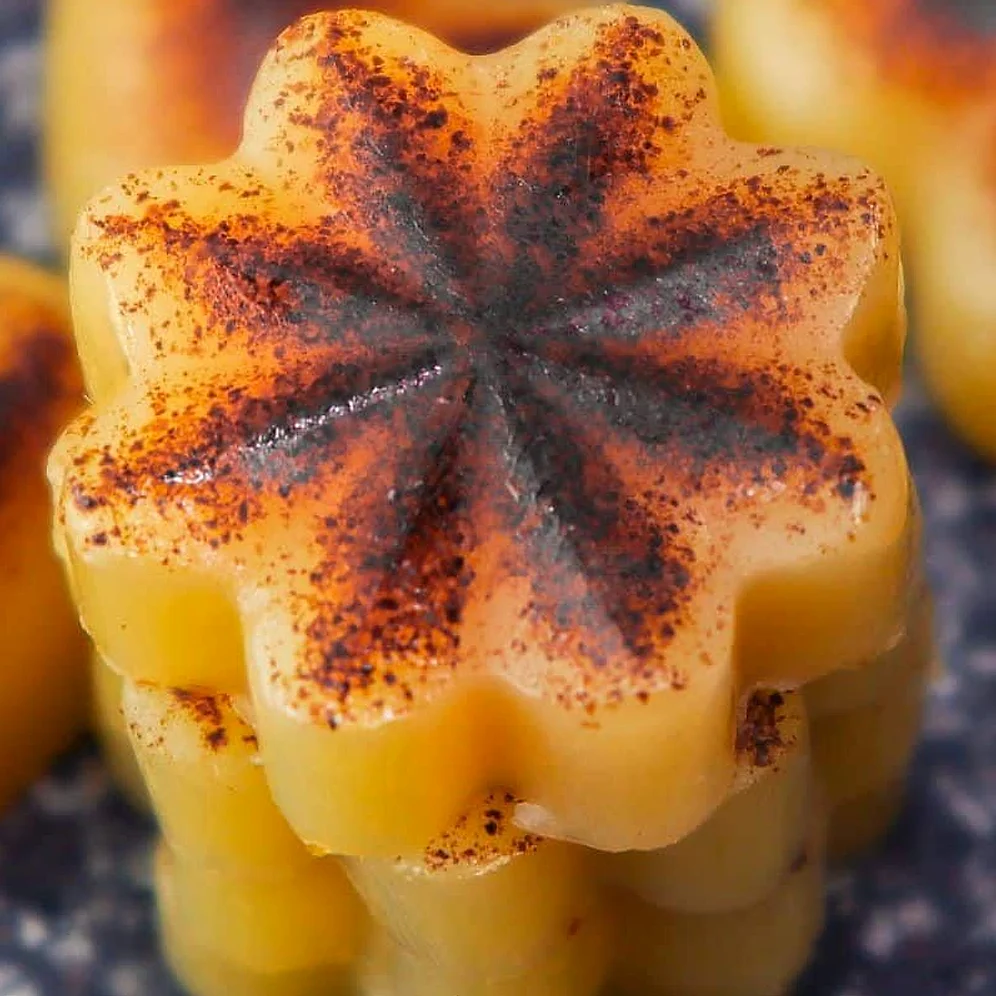
Brown butter bites are rich, toasty, and deeply nutty, with a soft, creamy center that melts the moment it hits your tongue. Browning the butter first gives these little bites a caramel-like depth that plain butter simply can’t match, and the texture firms up into a satisfying, fudgy bite you can keep in the fridge. Keep a tray on hand for a quick keto snack.
Why You Are Going to Love Brown Butter Bites
You are going to want to make a batch the first time you smell that butter turning golden in the pan. The kitchen fills with a warm, hazelnut-like aroma that makes the whole house feel cozy. Each bite is rich and silky, with a little crunch from the browned milk solids.
These are my go-to when I need something sweet-feeling without breaking my carb goals. One bite is usually enough to satisfy a craving, and that is a win on a busy afternoon.
(Yes, they taste a bit like a fancy toffee, even though there is no sugar in the base.)
How to Make It
See the recipe card for quantities and full instructions.
Start by cutting the butter into chunks so it melts evenly. Place it in a light-colored saucepan over medium heat and let it bubble and foam while you swirl the pan gently.
Watch closely as the foam subsides and the milk solids turn golden brown at the bottom. You will smell a nutty aroma right about then. Pull the pan off the heat immediately to stop the browning.
Pour the browned butter into a heatproof bowl, scraping in every bit of the golden solids. Let it cool for about 15 minutes until it is thick but still pourable.
Pour the cooled butter into a lined mini muffin tin or silicone mold. Chill for at least 2 hours, until the bites are firm enough to lift out cleanly.
Pop the bites out of the molds and store them in an airtight container. They are ready to eat straight from the fridge.
The Trick to Clean, Firm Bites
- Use a light-colored pan so you can see the color change clearly and avoid scorching.
- Scrape the bottom of the pan to capture the browned bits, which hold most of the flavor.
- Chill the bites fully before unmolding so they hold their shape.
Pro Tips
- Do not walk away from the pan. Brown butter can go from perfect to burnt in under a minute.
- Unsalted butter gives you control over the seasoning, so add a pinch of flaky salt if you like.
- Let the butter cool slightly before pouring so it does not seep into the mold.
- Use a timer for the chilling step so you do not rush it.
- Keep a few bites in the freezer for longer storage.
What to Serve with Brown Butter Bites
- A cup of black coffee or espresso
- Sliced strawberries or raspberries
- A handful of toasted pecans
- A cheese board with sharp cheddar
- Hot herbal tea on a cool evening
- A few olives and cured meats
Storage
- Keep the bites in an airtight container in the refrigerator for up to 2 weeks.
- Freeze them for up to 3 months, then thaw in the fridge for about 30 minutes before eating.
- Bring them to room temperature for a softer, more spreadable texture.
 Recipe byDiana Collins
Brown Butter Bites
Ingredients
- 16 tablespoons grass-fed unsalted butter
Instructions
- Cut the butter into chunks and place it in a light-colored saucepan over medium heat.
- Let the butter melt, foam, and bubble while swirling the pan gently.
- Watch for the milk solids to turn golden brown and the butter to smell nutty, about 5 to 7 minutes.
- Remove the pan from the heat immediately and pour the browned butter, including the solids, into a heatproof bowl.
- Let the butter cool for about 15 minutes until thick but still pourable.
- Pour the butter into a lined mini muffin tin or silicone mold, filling each cup about two-thirds full.
- Chill in the refrigerator for at least 2 hours until firm.
- Pop the bites out of the molds and store them in an airtight container in the refrigerator.
Notes
- Grass-fed butter gives a richer, deeper flavor, but any unsalted butter works.
- Add a pinch of flaky salt on top before chilling for a sweet-and-salty contrast.
- Keep an eye on the pan. Brown butter goes from golden to burnt quickly.